|
Ancient-Pig's Photoshop texture painting tutorial
|
|
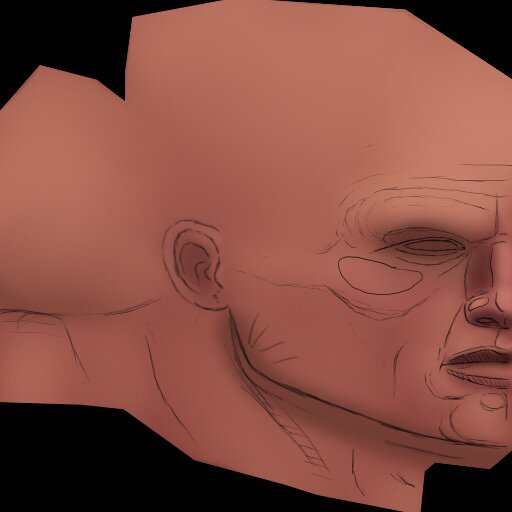
Below is the second phase of my texturing - coloring in the lines! This stage required the least amount of thought, as all the thinking had already been done (drawing lines on the face). All I did here was make a couple skin tone swatches (a mid and light tone), and paint on top of my 'blood' layer. I'm now going to refer to that layer as the 'base layer' from here on out. As you can see, the crimson is still showing through; more-so in certain places. Something to remember about working a texture in Photoshop is that it can always be changed. These color choices aren't binding in any way- all changing color requires is a simple play with the hue slider. 'Ballpark'n it works. After the color was laid down, I smoothed it over with the smudge tool. In this case, to get a true smudge, I went into 'Brushes' --> 'Shape Dynamics', and unchecked 'Spacing.' This makes the blend tool blend, instead of pushing color around on the canvas (easier on your computer as well). Albeit, keeping 'Spacing' on has its uses, but not in this stage of the game. |
|
|
|
|
All art and concepts of this site are ©2004-2007 Pig-Brain.com unless otherwise noted. ALL RIGHTS RESERVED
Any use of artwork (part or whole) contained within this website is strictly prohibited without the explicit consent of Pig-Brain.com. |